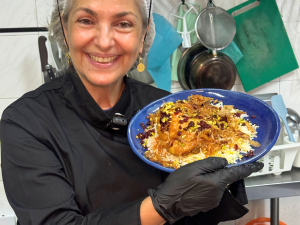
Meet C.R Tan, a professional food photographer and millennial entrepreneur. C.R began his humble roots in food photography and styling, studying the tools of the trade with self-experimentation and practice. He started off creating content in his bedroom with a small window, a semi-pro Canon D70 borrowed from a friend, and investing his time in self-learning through free online resources.
His hard work paid off and caught the attention of both local and international media – Straits Times, Zaobao, Hypebeast, SAVEUR, CNN Travel and Instagram (official). Shortly after that, he received offers to shoot and style for McDonald’s, Google, Guinness, Changi Airport Group, to name a few. Five years on, C.R’s distinct style of rustic cinematics and elegant styling has culminated in his recognition as one of the top food stylists in Singapore.
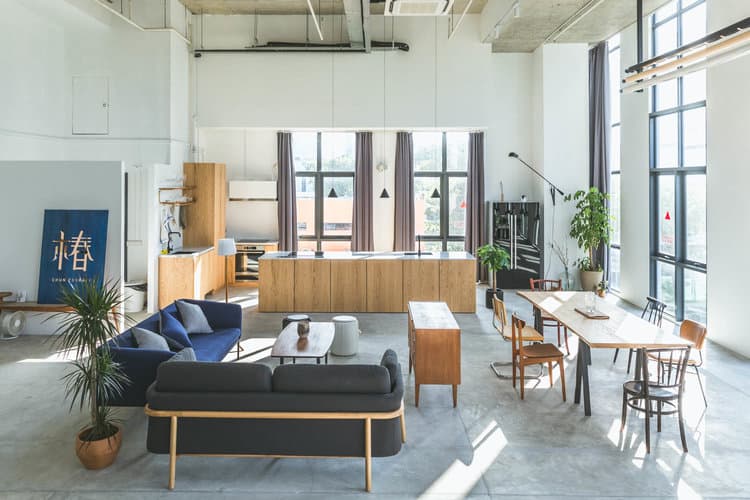
With the ever-growing demand in clients, C.R decided to start his very own boutique agency — Chun Tsubaki. This creative commune gathers like-minded creatives with a passion for branding, design and photography. The space at Chun Tsubaki was designed by C.R himself, based on the combined philosophies of Japanese Wabi-Sabi and Danish Hygge style. With a minimalistic open space, complete with mid-century modern furniture and green fauna, the studio has been popular among production houses for shoots, as well as private gatherings such as baby showers and intimate solemnisations. Apart from that, C.R has also invested in several of his other passions such as Butler Koffee Mobile Coffee Cart, Almost Famous Craft Beer Bar, Moonstone Bar at Amoy & up and upcoming Sourbombe Aritsanal Bakery (August 2020)
We speak to C.R about the essence of food photography and styling fundamentals that you can apply to your F&B business and behind the scenes into how much it takes to create tantalising, beautiful food shots.
Table of Contents
An introduction to Food Photography

What makes a food image stand out?
For me, the first impression is the most significant. I’m always looking out for the ‘harmony’ between the main subject(s) & it’s surrounding elements. Harmony comes with a combination of these 3 factors – Lighting, Composition, & Tonality (editing).
Any tips you can share on what makes a good shot?
- Access to natural daylight
- Understand and play with lighting angles to best complement the subject(s)
- Editing is essential, e.g. like wearing clothes after a shower.
- Filter Effect, define your style with filter effect. e.g. Accessories to go with your outfit.
…and what settings should be used?
Always position food in relation to the light source, situations such as shadows, low lit. One key light is good enough to capture a relatively good shot (lifestyle angle)
When shooting at eye level to a 45-degree angle, some standard lighting angle which you can adopt is ‘side lighting: from the left or right’, ‘backlighting’, where the light is behind your subject. Whereas front lighting usually gives you a pretty flat image, so try to avoid that. Identify the lighting angle by looking at the shadow of the subject(s).
When shooting flatlays, best lighting angle (to me) is always from the top of the subject(s) where the shadow of the subject is at the bottom. The lighting angle range that works is usually at any angle from the top half of a circle (where the shadows of the subject(s) would be cast at the lower half of the circle.
What are the pitfalls we need to note when taking food photos?
Avoid having mixed light in your shots, e.g ambience light from the restaurants + natural daylight may give you a less than desired tones to your shots.
Here are key elements to note:
Lighting good lighting is the first key to unlock a good image
Composition the second key to tell your story in the image (with the right props and sets)
Editing The third key to wrap up the story, through your style by wearing ‘clothes’ that fit you!
Can you share a story or project that you are most proud of capturing?
Three years ago I did a brand collaboration with Harvey Norman where I have to conceptualise 12 recipes, including 12 blog posts of photography & videography (tasty style) featuring one different appliance each week over a span of three months. It was a test of my capabilities as I did it all alone with such a tight timeframe.
Types of equipment and post-processing

For restauranteurs who plan to take up their own food shots (without studios), what do you recommend investing in?
I am never a believer in overspending on high-end gears when starting out, what matters (to me) the most are the content, and quality of work going out. Six years ago, I started off creating content in my bedroom with a small window (access to natural light), a semi-pro Canon D70 borrowed from a friend. With whatever little amount of money I have (from Part Timing), I spent it in procuring materials for my subjects and set. That includes sourcing of ingredients & props, painting my own backdrop, etc.
With the advance technology in mobile phones nowadays, they are relatively good enough for social media content. However, for professional shoots for press usage and website, they should get at least a semi-pro DSLR, or good mirrorless camera to capture decent shots. For lighting, work with natural light if you’re on a budget, or you can simply invest in a strobe if you don’t have access to good daylight in the restaurant.
What are the three most common techniques to use when editing?
Contrast, Saturation, White/Color Balance

The fundamentals of Food styling
Now, let’s move on to the fun part, food styling!
Can you share more about what is your style?
Besides able to style perfect looking food on client requests, my personal food styling style is more towards lifestyle where I like my food to look organic and not too overly perfect, but it can’t be too messy as well. It should be well-balanced.
Any food styling tips to share?
Always identify with the photographer the shooting angle before styling the food. This is because food are styled differently at each angle. E.g. Eye level, a pasta dish might need more height through the twirling, and a burger might not work when shot at flatlay angle.
Always prepare extra fresh ingredients on set, and ready to replace when the actual hero product/ingredients require a refresh after it’s been out on set for awhile.
Always be prepared and be flexible in assembling/styling your food, as clients’ request tend to change multiple times on set deviating from the brief.
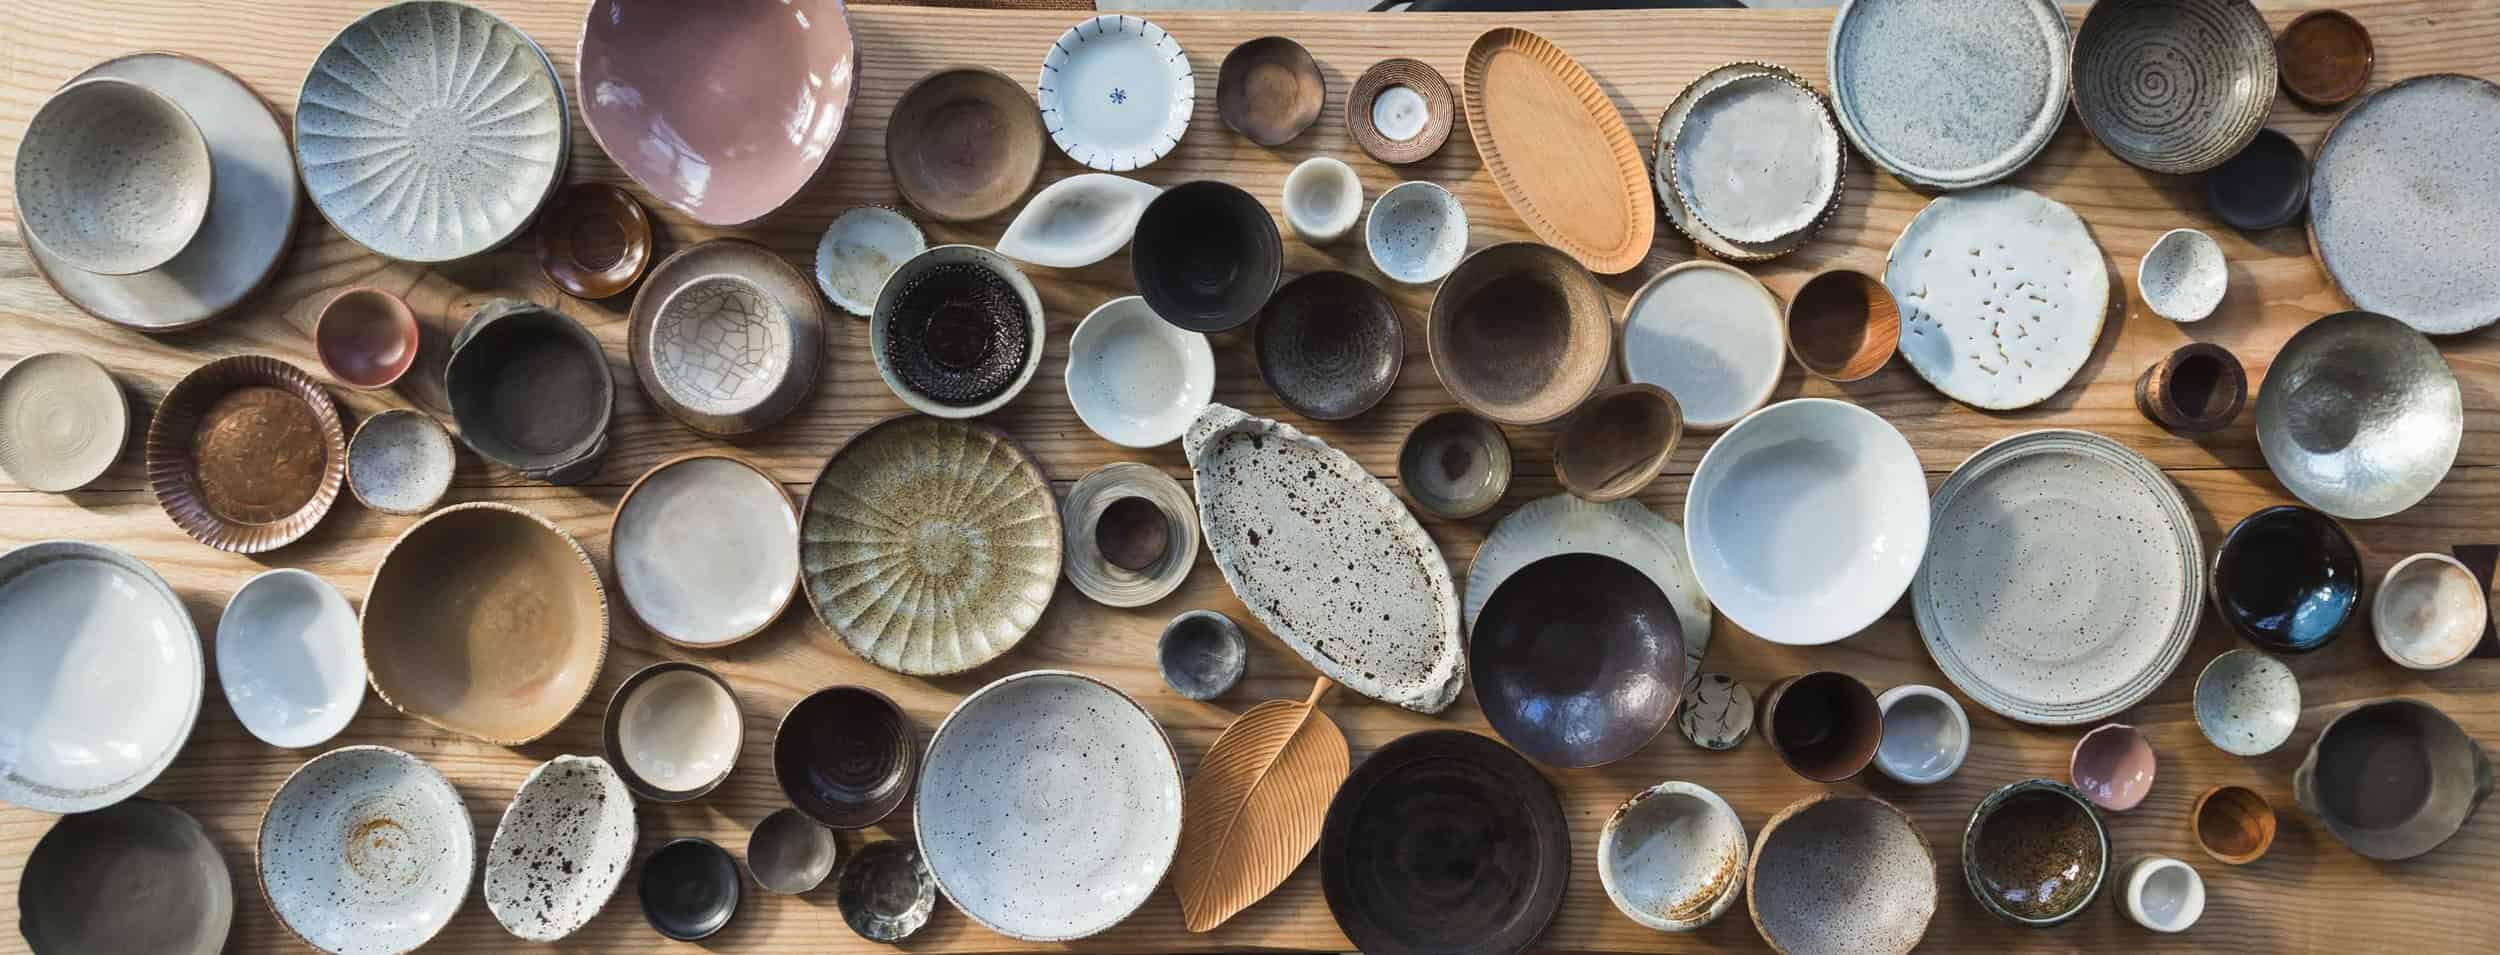
Any tricks to share in terms of props and styling?
Depending on the brief, it’s always good to test the plating with the actual ware so that you’ll be able to estimate the amount of food needed to style within the plate. Garnishing/ Saucing/ingredients that die out fast will always be the last component(s) to add in as they tend not to last very long when exposed to air and heat.
Case Study
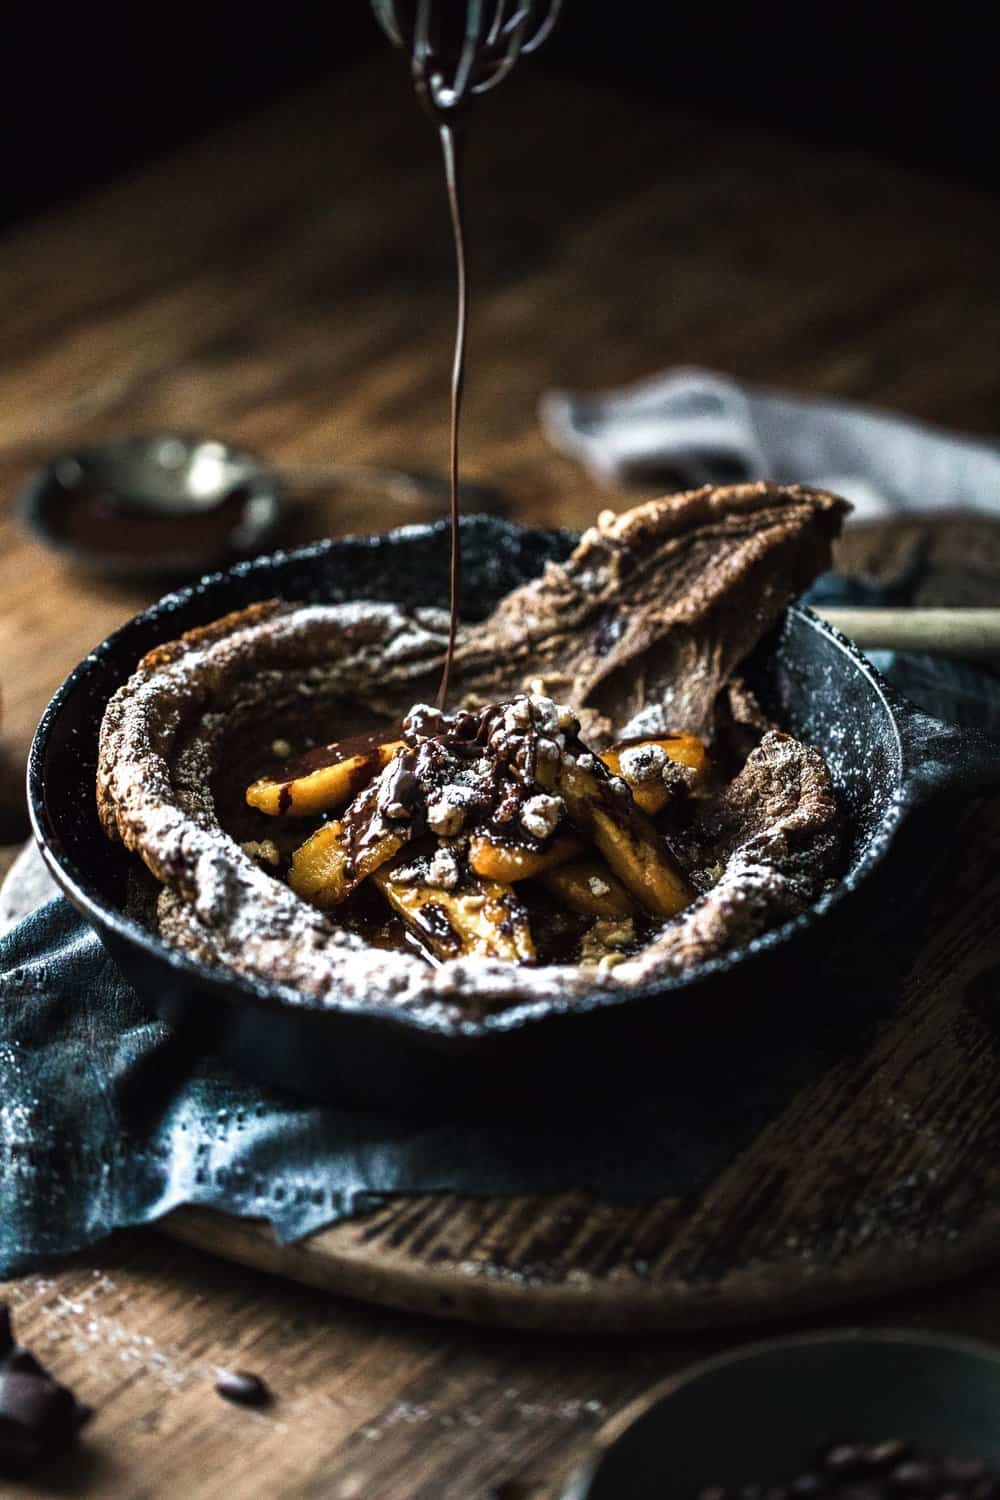
What is the story behind this image?
To capture the drizzling of the chocolate sauce on the freshly baked dutch baby pancake
How much planning goes into capturing this?
There were a few things I need to take into consideration:
- To decide on which surface and backdrop I would like to use
- To decide on the wares which I’d like to use
- To decide on the angle (including lighting angle) I am shooting at
- To do a test shot with the actual wares before sending the dutch baby into the oven (as it will collapse real fast in the span of 5-10 minutes after it’s been baked)
- To capture the shot within 5 – 10 minutes before the dutch baby collapse
What modes and settings do you use to catch these food moments?
F5.6, 1/125, ISO (Auto – if shooting with natural light)
What’s next
What is next for yourself and Chun Tsubaki?
Nothing concrete for Chun Tsubaki atm due to the COVID situation, but we are definitely focusing on building up our creative content and clientele at the moment.
For myself, I am launching a new online donut brand alongside with Masterchef SG Runner Up Gen Lee. We are planning to launch this brand on 1st of August 2020, Sourbombe Artisanal Bakery – Singapore’s First Sourdough Bomboloni! Really excited about it as we have big plans for this online business. It’s also a first for me to oversee and direct the brand with a different approach from my usual style.
Where’s the best place people can find out more about yourself and your work?
You can explore more of my work here, to find out more about services at Chun Tsubaki here, or follow me on my Instagram here.
All images credit to C.R Tan and Chun Tsubaki Studio.